Showing posts with label Life's a Beach. Show all posts

Monday, September 23, 2013

FCCB #179 - Going Places and Blog Candy Winner

Happy Monday!  It's time for another fun challenge at Fantabulous Cricut!  This week's challenge is Going Places - we want to see your projects that include a Cricut cut image of something that gets you from one place to another (car, bike, plane, etc).

I decided to make a layout for this week's challenge.  My sweetie and I celebrated our first anniversary in Cozumel and went on a deep sea fishing trip while we were there.  Little did we know it wasn't really deep sea fishing season, but we still caught some fish and we had a great time doing it!


Sorry for the glare in the pictures.  I was having a hard time taking these photos.  The left page has pictures of the boat we were on and our two guides for the trip.  On the right page, I have pictures of my sweetie and I fishing and some of the fish we caught.


The title us cut from the Life is a Beach cartridge and the boat is cut from the Father's Day cartiridge.  I cut the title out twice, once in yellow and once in orange, then hand cut the fin, the dots for the i's and the apostrophe so the title with the fish wouldn't be one solid color.


The fish are all from the same image on the Life is a Beach cartridge.  I cut the image and its layer out 3 times in different colors so I could mix and match the fish to make them all different colors.

I also have the winner of my blog candy from the Fantabulous Cricut Vinyl Cricut Crawl to announce!!  The winner was chosen by random.org and the winner is..........#5!!
I loved your lantern! The vinyl cut outs are so beautiful. Great idea!

Julie, please leave me a message with a way to contact you so I can get your stamp sets in the mail!  Congratulations!!

Thanks for stopping by today!  Be sure to link up your project to the Going Place challenge at FCCB by Sunday evening!!

Recipe:
Solid cardstock from Bazzill, Recollections and DCWV
Patten papers from The Paper Studio
Gone Fishin' title from Life is a Beach cut at 4 inches
Boat from Father's Day cut at 2.25 inches
Fish from Life is a Beach cut at 2.5 inches


Wednesday, January 23, 2013

I Feel the Love Card

Good evening!

I wanted to share another card that I'm going to be sending to Madison for her I Feel the Love project this month.  Madison is collecting cards for the family of Ms. Victoria Soto, one of the teachers who lost her life in the tragedy at Sandy Hook last month.  She is also collecting Valentine cards for the students from Ms. Soto's class who survived.  For more information on Madison's project, please visit her blog HERE.

This is the card I made for Ms. Soto's family.  According to Madison's post, flamingos and the color green were among Victoria's favorite things.


You still have a bit of time to send a card to Madison!!  Thanks for stopping by to take a look!

Recipe:
Solid cardstock from Bazzill and DCWV
Pattern cardstock from DCWV
Flamingo from Life's a Beach cut at 3 inches
White Sakura gel pen
Crinkle ribbon

Monday, July 30, 2012

Summer Fun Thank You

Happy Monday!  Did you all have a fabulous weekend?  And are you as addicted to the Olympics as I am?!?  My sweetie and I had a great time down at the lake with some family - we played golf, swam, went out on the boat, and most importantly we got some much needed R&R!

I made this thank you card to give to my sweetie's aunt to thank her and her family for letting us stay with them and enjoy the weekend with them.  I'm going to submit this into the challenge over at Die Cuttin Divas - Summer Fun.  I created a mini-scene with images that make me think of relaxing along the beach or by the pool.

Now I'm off to watch some more Olympic coverage!  Hope your week is off to a great start!


Recipe:
Solid cardstock from Bazzill and Recollections
Pattern cardstock from DCWV
Chair from Life's a Beach cut at 3.4 inches
Sun from Pack Your Bags cut at 2.5 inches
Flipflops and sunglasses from Pack Your Bags cut at 1.8 inches
Face from Peachy Keen Stamps Everyday Character faces
Rub-on sentiment
i-rock gems
pop dots

Saturday, June 16, 2012

Glass Luminaries

Good evening!  I hope you are all having a great weekend!  We're having great weather here, and I've been taking advantage of it - getting outside to run, watch my sweetie's cousins play softball games, and working in the yard.  I also got a project done today that I've been thinking about doing for a while now.

I saw a project on the Cricut Circle blog a while back where luminaries were made out of recycled glass jars.  I decided to make something similar for my sweetie and I, based on our wedding.  I found some cheap glass vases at a home store near us and decided to use them.  I cut vinyl and adhered it to the glass jars.  On the first vase I put a bride and groom image on one side, and intertwined rings and our wedding date on the other.  On the second vase I put a sand dollar image on one side (we had a beach wedding and my sweetie found 6 sand dollars while we were there), and the site of our destination wedding (Turks and Caicos) on the other.

Then we sprayed both vases with frosted glass spray paint.

Next I carefully peeled off the vinyl, using an exacto knife to help get the edges started.

Finally, I added a tea light candle and turned out the lights!  

The pictures didn't turn out the greatest, but hopefully you get the idea.  We're so pleased with the final product, and love the way they look both with the candles lighting them up and without.  And the best part.....this was really a very easy project!  This was my first time using vinyl, so I was a little worried about how to cut it, how to get it on the glass, etc, but it was really simple.  :)

Thanks for coming by to take a look and enjoy the rest of the weekend!!

Recipe:
Glass vases
Vinyl
Frosted Glass spray paint
Bride and Groom from Wedding cut at 3 inches
Rings from Wedding cut at 2 inches
Date from Plantin Schoolbook cut at 1 inch
Sand dollar from Life's a Beach cut at 2.75 inches
Destination from Lyrical Letters cut at 1 inch

Saturday, March 10, 2012

Pina Colada Cake

Happy Saturday!  I'm getting ready for a scrap night with one of my best friends.  Her birthday was on Wednesday, so I made a cake that I'm going to surprise her with when she gets here.

She and her husband went to Turks and Caicos back in January for my wedding.  While we were there, we enjoyed our fair share of pina coladas.  Just a couple weeks ago, I was over at her place scrapping and she whipped up a pitcher of pina coladas - I had to laugh as we've never drank and scrapped before!  But, there's a first time for everything I guess, and they sure tasted good!  When I was looking for a cake recipe for her birthday cake, I stumbled upon a Pina Colada cake.  Seems perfect to me!  This recipe used a boxed cake mix as it's base, so it's not entirely from scratch.  But it is slightly modified so it's not just a 'plain' box cake.  And the frosting is from scratch, so that has to count for something, right?!?

I also used this opportunity to try out my Cricut Cake machine.  My hubby bought it for me for Christmas and I had yet to take it out of the box.  My good friend Missy has been making good use of her Cricut Cake lately and she was gracious enough to give me a lot of tips.  A huge thank you to her for all the advice!  I decided to start with sugar sheets, because I've heard they're very easy to work with.  I've never worked with fondant before, so I'm very nervous about that.  Hopefully you'll see a post before too long where I try fondant, but this time I stuck with the sugar sheets.  The sugar sheets were so easy to work with and the Cake cut the images very well - I was impressed since I chose fairly small images, but everything came out great.

Thanks for coming by to take a look.  I hope you have a wonderful weekend!!


Pina Colada Cake
1 box Betty Crocker super moist yellow cake mix
1 can (8 oz) crushed pineapple in juice, undrained
1/2 c water
1/3 c vegetable oil
3 eggs
1 tsp rum extract

Preheat oven to 350 degrees.  Grease and flour sides and bottom of pans.

In large bowl, beat cake mix, pineapple, water, oil, eggs and rum extract with electric mixer on low speed 2 minutes, scraping bowl occasionally (do not overbeat).  Pour into pans.

Bake as directed on box.  For round cakes, cool 10 minutes before removing from pans to cool completely.

Coconut Buttercream Frosting
1 cup (2 sticks) butter or margarine, room temperature
1/2 tsp vanilla
1 1/2 tsp coconut extract
4 cups powder sugar
2 tsp to 2 tbsp milk

Beat the butter until pale and fluffy.  Add the vanilla and coconut extract and mix well.  Add the powdered sugar 1 cup at a time, making sure the icing is smooth before adding the next cup.  After all of the powdered sugar is incorporated, bet in the milk, one teaspoon at a time until the desired consistency is reached (I used about 3 tsp).

Decorations
Wilton sugar sheets
Happy Birthday from Cake Basics cut at 2 inches
Hibiscus flowers from Life's a Beach cut at 1.5 inches

Place images on cake as desired, using small drops of icing to adhere them to the cake if needed.

Friday, January 27, 2012

Wedding Coordinator Thank Yous

My sweetie and I had a wonderful destination wedding on a beach in Turks and Caicos last week.  We owe so much thanks to the wonderful wedding coordinators and all the staff at the resort for helping make our day exactly what we wanted and for making it so easy on us.  We had a few conversations before our wedding, then just had to show up on the big day.  Everything ran so smooth!!  We want to send them a little something to show our appreciation so I put these cards together for them.

I'm also submitting these cards in this week's challenge over at Die Cuttin Divas.  The challenge is Buttons, Bling and/or Bows.  I tied a bow with twine around the corner of the card and added some bling to the hibiscus.  Thanks for stopping by to take a look!


Recipe:
Cardstock from Bazzill and Recollections
Hibiscus from Life's a Beach cut at 3.5 inches
Double Loops Martha Stewart border punch
Twine from My Craft Spot
Rub-on sentiment
White chalk and i-rock gems

Saturday, September 24, 2011

Lake of the Ozarks

Hello everyone!  I hope you are all enjoying your weekend.  It's a beautiful Saturday here!!  I ran a half marathon this morning with a good friend, and in a little bit I'm headed to one of my bff's for a night of scrappin.  I can't wait to work on more projects!!

This summer, my sweetie and I went to the Lake of the Ozarks a couple of times.  This 2-page layout is from our first trip there this summer, back in June.  It was just the two of us and we stayed in one of his aunt's condos.  We were there for a weekend, but got lots of time in the pool, on the lake, and even found time for a round of golf.  Thanks for stopping by to take a look!


Recipe:
Solid cardstock from Bazzill and Recollections
Patterned cardstock from DCWV
Title from Life's a Beach cut at 1 1/2 inches

Date from Lyrical Letters cut at 1 1/2 inches
Swim trunks from Life's a Beach cut at 2 1/2 inches
Bikini from Life's a Beach cut at 3 inches
Golf cart from Everyday Paper Dolls cut at 3 inches
Baker's twine from My Craft Spot
Black Sakura gel pen for faux stitching and Glossy Accents

Sunday, June 12, 2011

Golf Thank You

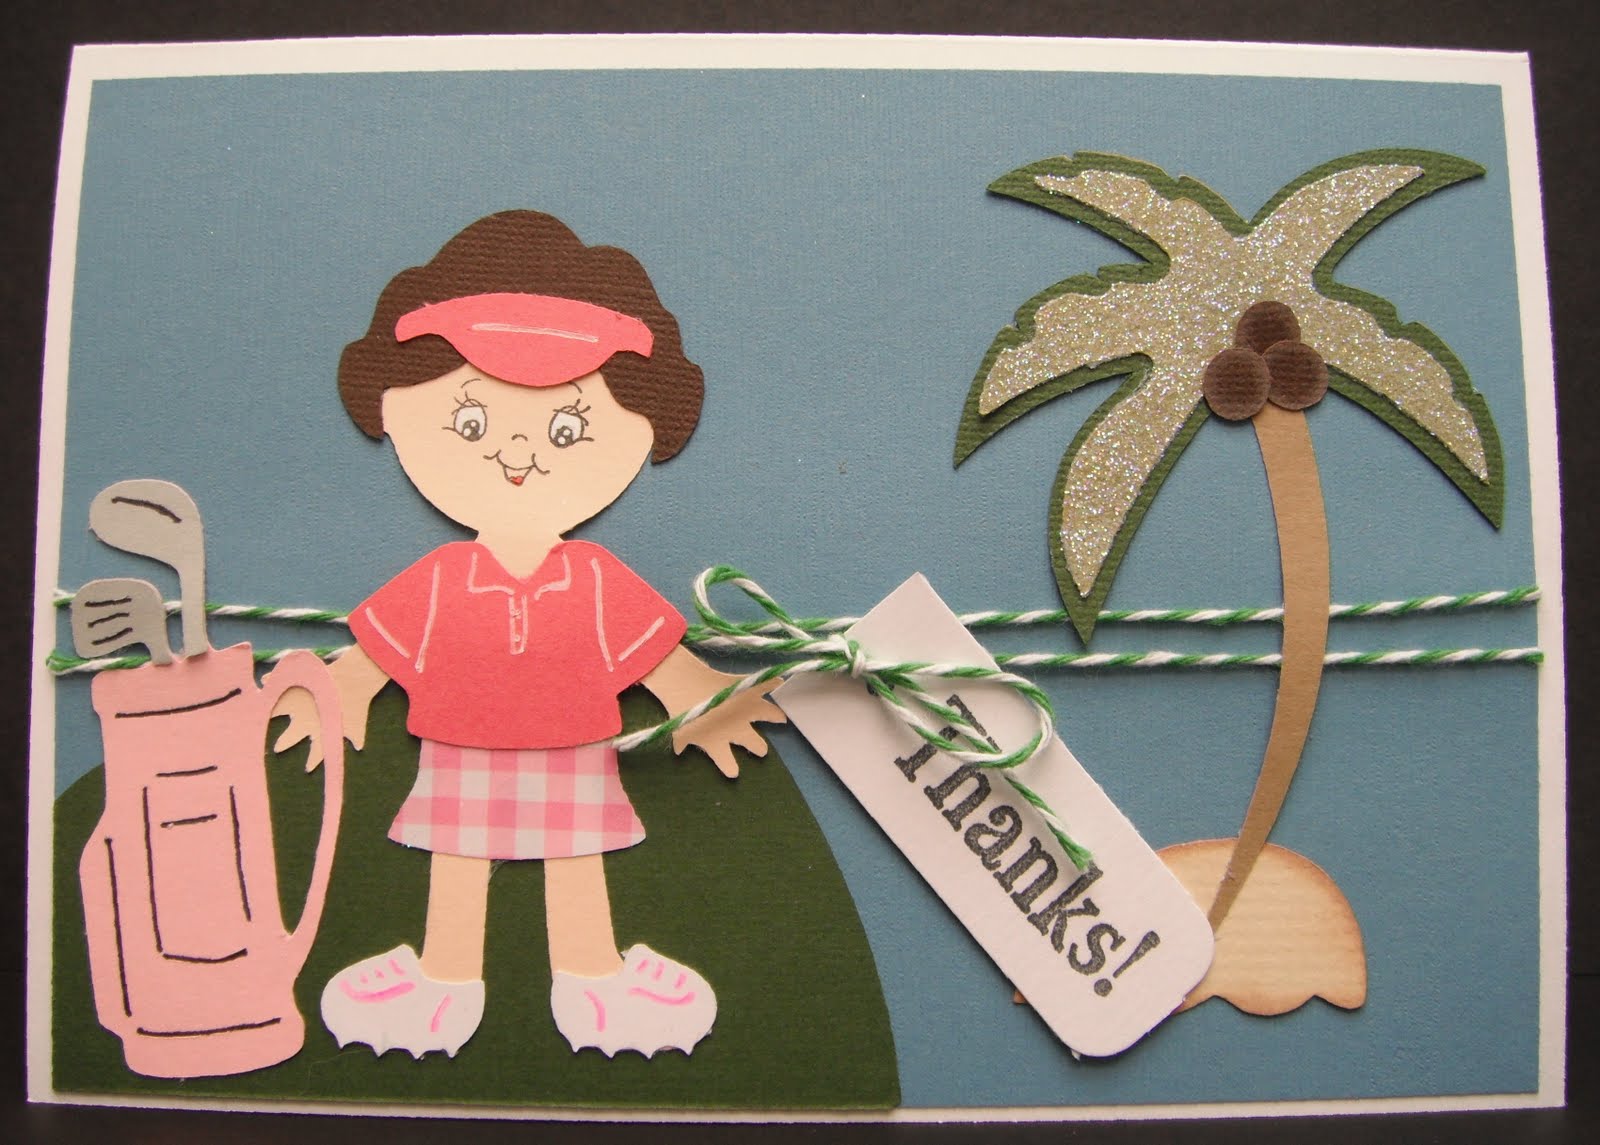
I had a lot of fun playing in the golf tournament the past few days with my mom and a couple other ladies.  We had a lot of fun decorating the carts, participating in various games they had at the pre-tournament party and of course playing golf!  This is a card I made for the lady who invited me to play on her team with my mom.  I was very excited to have the opportunity to play in the tournament with them and wanted to make her a card to say thanks.  Of course I had to keep with the 'Golf's a Beach' theme!!
Recipe:
Cardstock from Bazzill and DCWV
Golfer and accessories from Everyday Paper Dolls cut at 3 1/2 inches
Palm tree from Life's a Beach cut at 4 1/2 inches
Peachy Keen Stamps Wide Eyed Kids Face
Sentiment from TPS Studio
Baker's twine from My Craft Spot

Wednesday, June 8, 2011

More Golf Cart Decorations!

I got a couple more cart decorations made for the golf tournament I'm playing in with my mom this weekend.  These two are pretty simple images, but fitting for the 'Golf's a Beach' theme!

Recipe:
Cardstock from Bazzill
Palm tree from Life's a Beach cut at 11 1/2 inches
Sun from H2O cut at 8 inches
Brown chalk ink on coconuts and sand
Glitter on orange swirl on sun

Tuesday, June 7, 2011

Golf Cart Decorations

My parents are back in town for a while and this weekend I am playing in a golf tournament with my mom.  I used to be in the golf business, which kept me from being able to play in member-guest tournaments like this one.  Now I am out of the business and am excited to play in this tournament with her!  This tournament has a theme every year and the ladies decorate their golf carts accordingly.  This year the theme is 'Golf's a Beach' and when I saw that I knew I had a number of Cricut images to choose from that would work.  The hard part was deciding which images to use!  One of the other ladies in our group already has some decorations for the carts, so I am cutting out a few images for us to put on the windshields.  Here are the first two images I chose - thanks for checking them out!

Recipe:
Cardstock from Bazzill and Recollections
Flip flops, sand bucket and shovel all from Life's a Beach cut at 8 inches
Prima flowers
i-Rock gems
Brown chalk ink
White Sakura gel pen